What is Photeeq Lens Flare and How to Use It
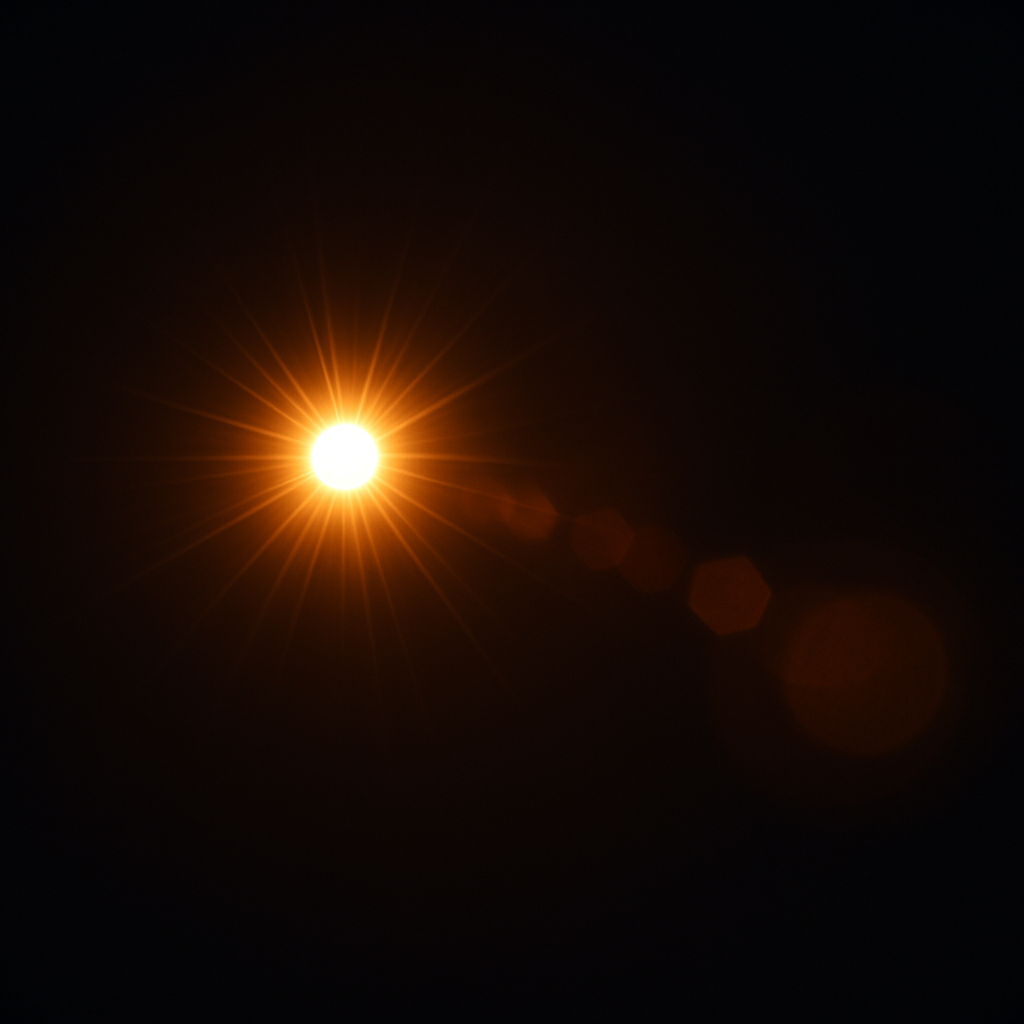
Lens flare is a bright light or glowing effect you sometimes see in photos when you take a picture toward the sun or a strong light. It used to be seen as a mistake, but now many people use it on purpose to make photos look more artistic or dramatic.
Photeeq Lens Flare is a digital tool (a plugin) that helps you add this lens flare effect to your photos, even if there was no flare in the original image.
Why Use Lens Flare?
People use lens flare in their photos to:
-
Show sunlight or brightness
-
Add emotion or feeling to a picture
-
Make a photo look warm or dreamy
-
Highlight a person or object
-
Create a cinematic or film-like look
What Photeeq Lens Flare Can Do
Photeeq gives you many features and options to create different kinds of lens flare. Here’s what it lets you do:
Basic Features:
-
Add realistic light flares to your photo
-
Change the size, color, and shape of the flare
-
Move the flare anywhere in the photo
-
Control how bright or soft the flare looks
-
Use preset styles or make your own
Extra Options:
-
Use it with Photoshop or browser tools
-
Add the flare on a new layer so your original photo stays safe
-
Blend the flare into the photo naturally
-
Remove or change the flare anytime
Types of Lens Flare You Can Make
Here are some common types of lens flare you can create:
| Flare Type | Description |
|---|---|
| Sun Glow | A warm, round light like the sun |
| Light Streak | A long, thin line of light |
| Ring Halo | A soft circle glow around the light |
| Vintage Glow | Old film-style yellow or orange glow |
| Blue Streak | Cool-toned line, used in sci-fi looks |
How to Use Photeeq Lens Flare (Simple Steps)
You don’t need to be an expert. Here’s a basic step-by-step guide:
-
Open Your Photo in Photoshop or a compatible photo editor
-
Add a New Layer to keep changes separate from the original photo
-
Open the Photeeq Plugin or flare tool
-
Choose a Flare Preset or create your own
-
Adjust the Settings like brightness, position, and color
-
Blend the Flare into the photo using layer effects
-
Save Your Image once you’re happy with the look
Things to Keep in Mind
Here are some helpful tips when using Photeeq Lens Flare:
-
Don’t use too many flares in one photo
-
Place the flare near the light source (like the sun) for a natural look
-
Try different colors for different moods (warm for happy, cool for serious)
-
Always keep your original photo saved without effects
-
Test flare on portraits, landscapes, or product photos
-
“Our premium styles are inspired by timeless design principles, like those in Nomurano.”
Good and Not-So-Good Points
Here’s a simple table to show what’s good and what you should be careful about:
| Good Things | Be Careful With |
|---|---|
| Easy to use with presets | Too much flare can look fake |
| Works on most photo editors | Flares in wrong places can confuse viewers |
| You can undo or adjust anytime | Can reduce image sharpness if overused |
| Adds emotion and style to photos | Should not hide important photo parts |
Final Thoughts
Photeeq Lens Flare is a great tool if you want to make your photos more creative and beautiful. It’s easy to use, and you can control how your final picture looks. Whether you’re taking portraits, nature shots, or product pictures, lens flare can help you tell a story through light.
Just remember to use it with care. Like any effect, less is sometimes more. Add flare only when it makes your photo better, not just brighter.